Editing
Editing in QGIS uses an edit session much like ArcGIS does. Both attributes and geometries can be edited.
Calculating an Attribute
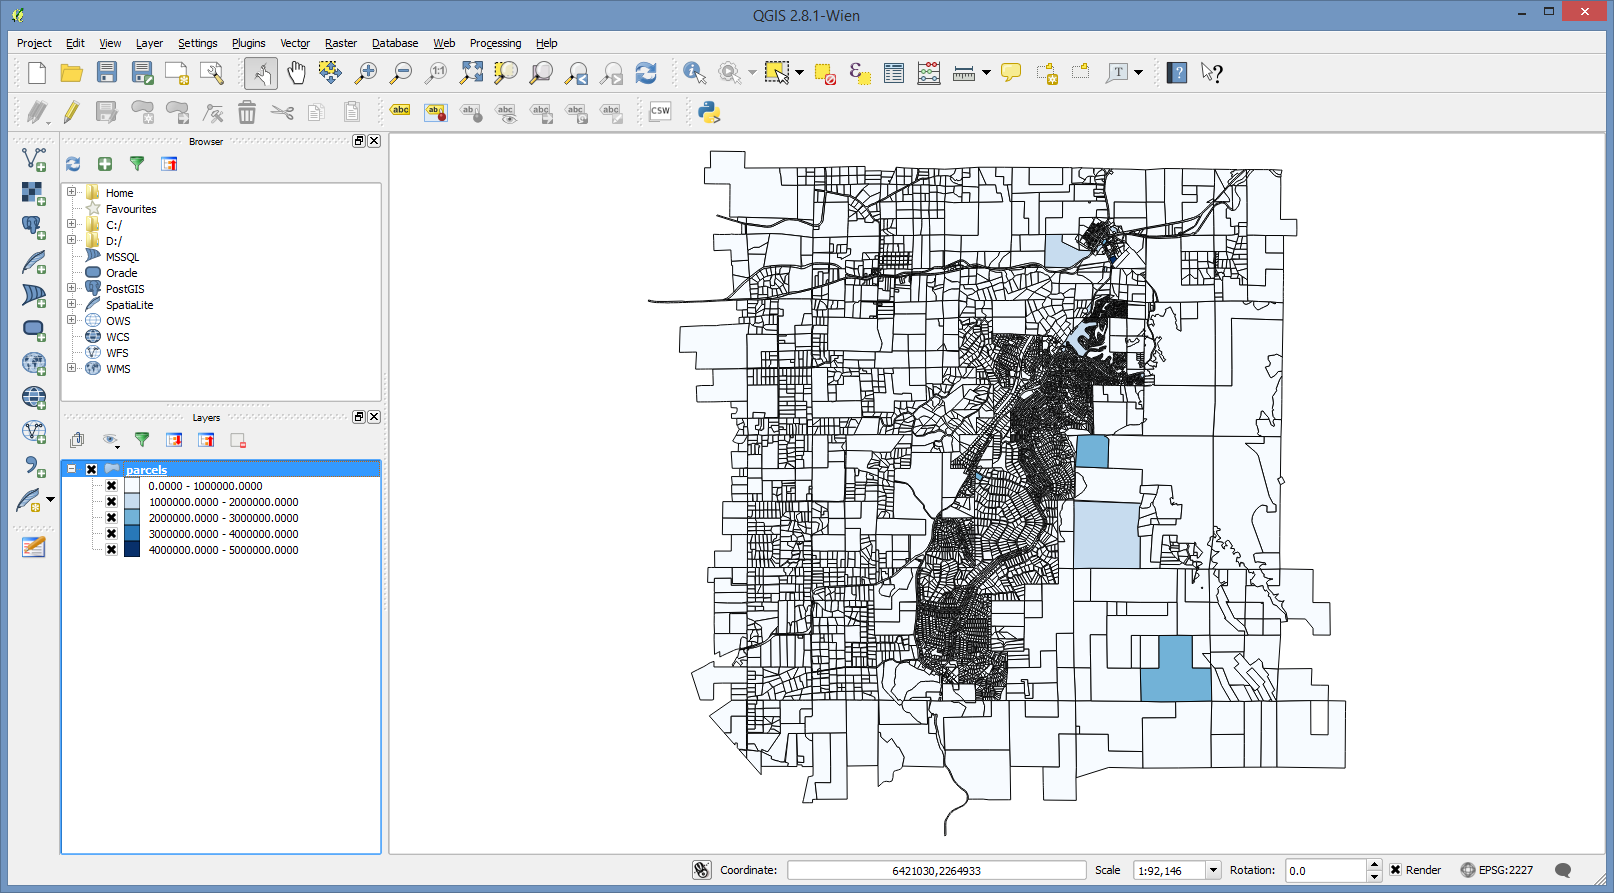
Add the parcel data to the project if it isn’t already there. If you’re continuing on from the last example, remove any joins using the layer properties to keep things simple.
Open the parcels attribute table.
Click on the little pencil at the top left of the attribute table to start an edit session.
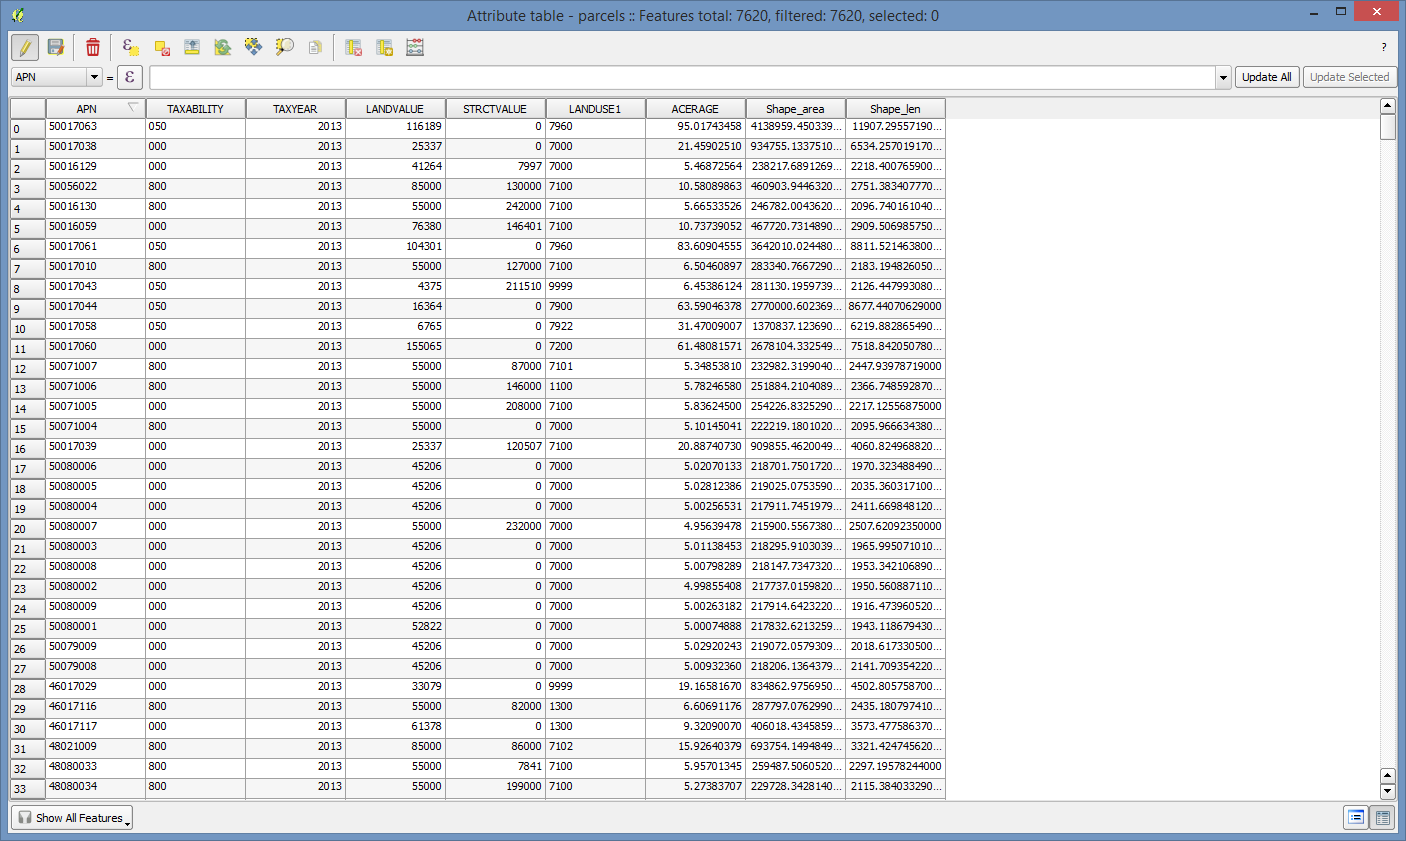
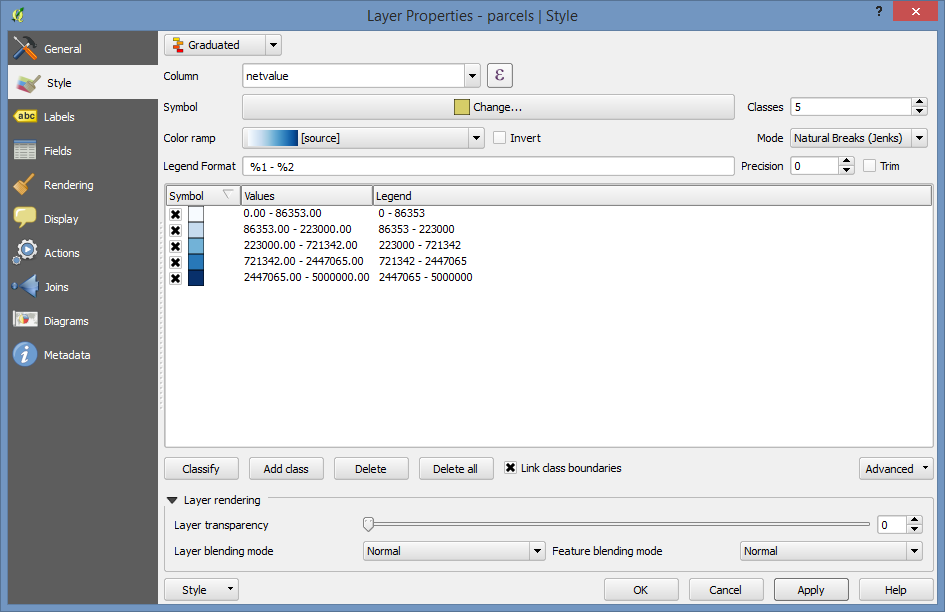
Click on the Abacus icon at the far right of the top toolbar to open the calculate field dialog box.
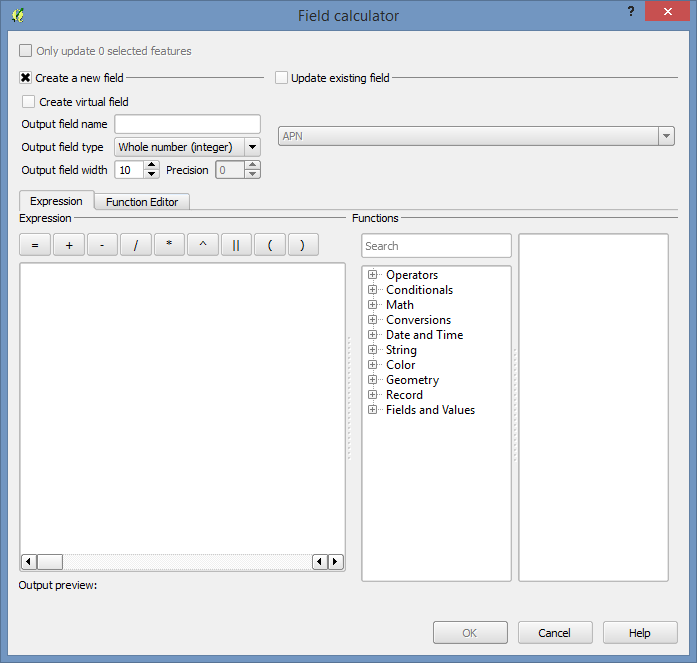
And then fill out the form. We can have it perform the calculation into a new field that will be created to hold the result. An example is shown below.
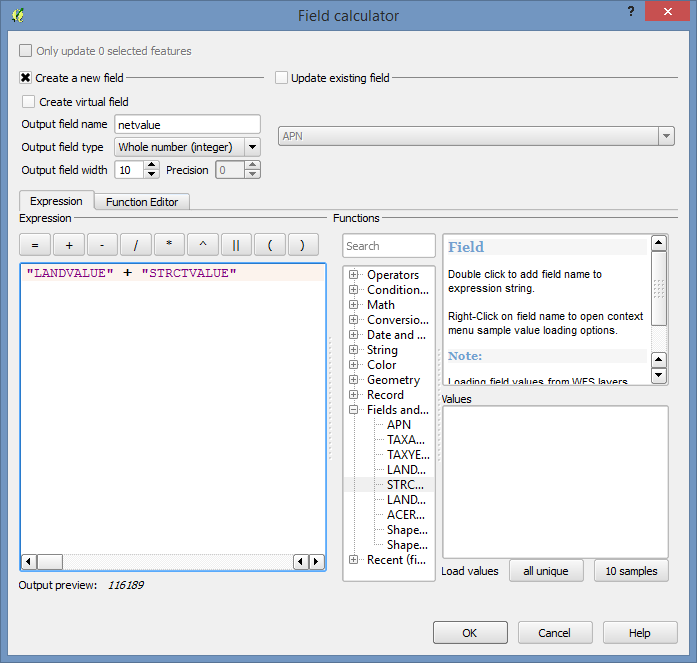
And click OK to execute the operation.
Then click on the “Save Edits” icon just to the left of the Edit toggle to save the changes and then turn off editing using the pencil again.
Finally, let’s set up some symbology based on the field we just calculated.
We’ll use a graduated symbol on the netvalue field we just created. For the moment, just accept the defaults, and click the “Classify” button.
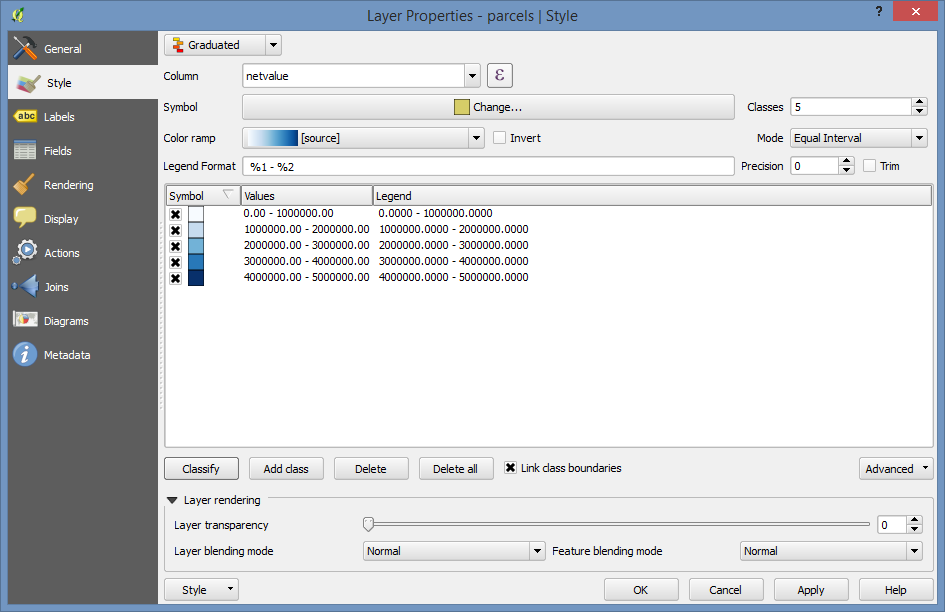
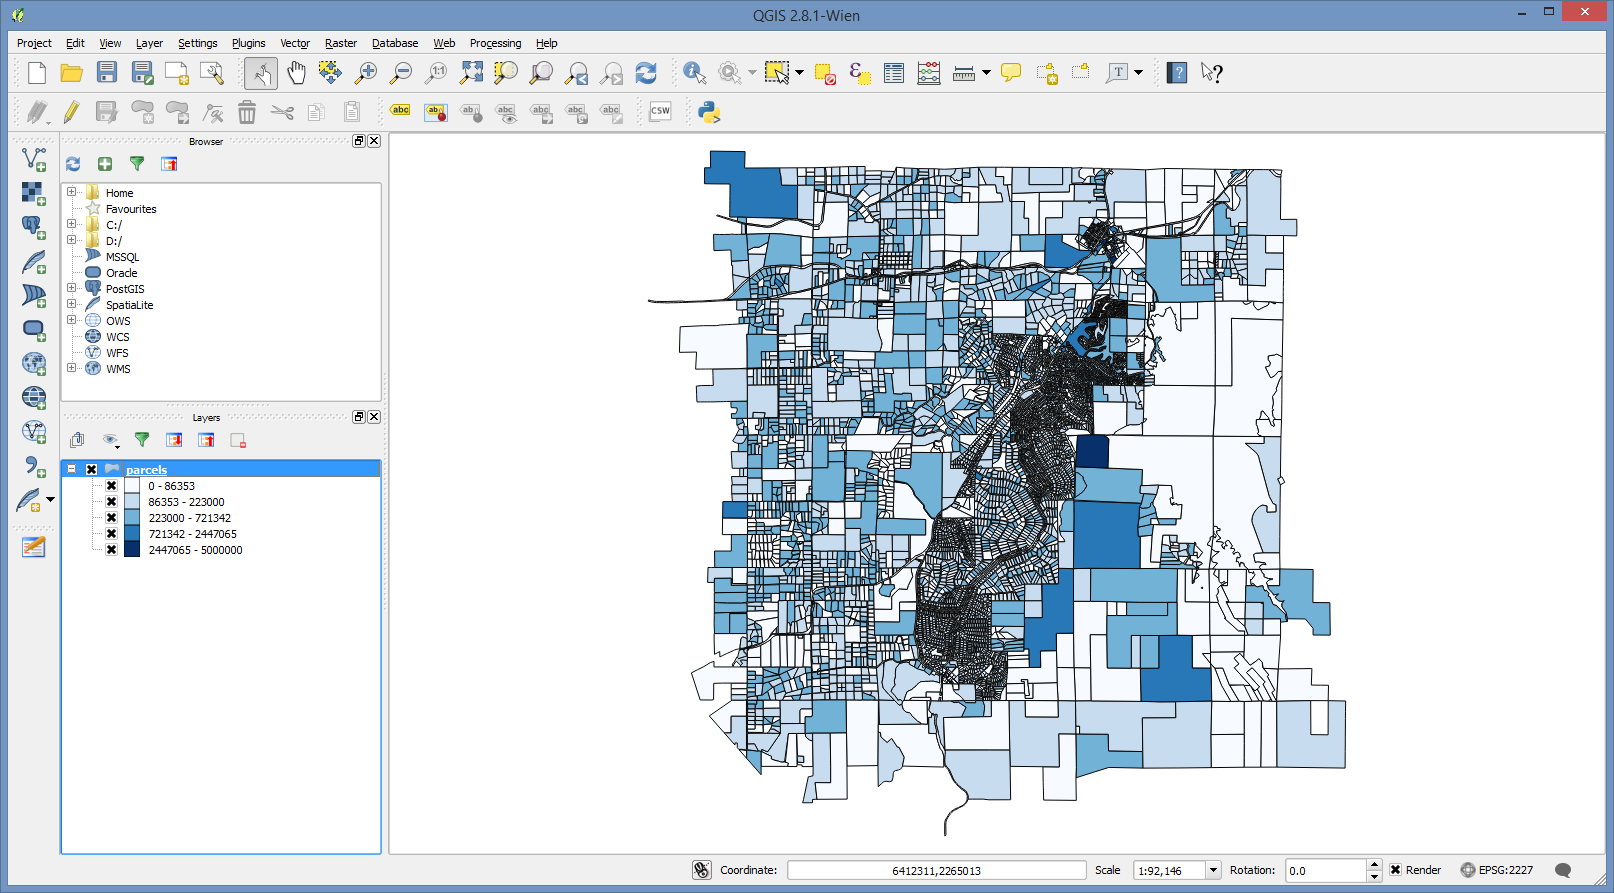
Then click “OK” to view the results on the map.
That’s really not so interesting to view, so let’s fix it a bit. Go back into the Style editor (Layer Properties).
And pick the “Natural Breaks” mode on the right side to use the “Jenks” method for splitting the data into the number of classes selected (default = 5).
And click OK to view the results.
Geometry Editing
Editing geometries should be similar to what you’re accustomed to. The feature templates that are available in ArcGIS aren’t present in QGIS, but the basic editing tools are available, and highly functional.
Snapping controls are available through the Settings menu.
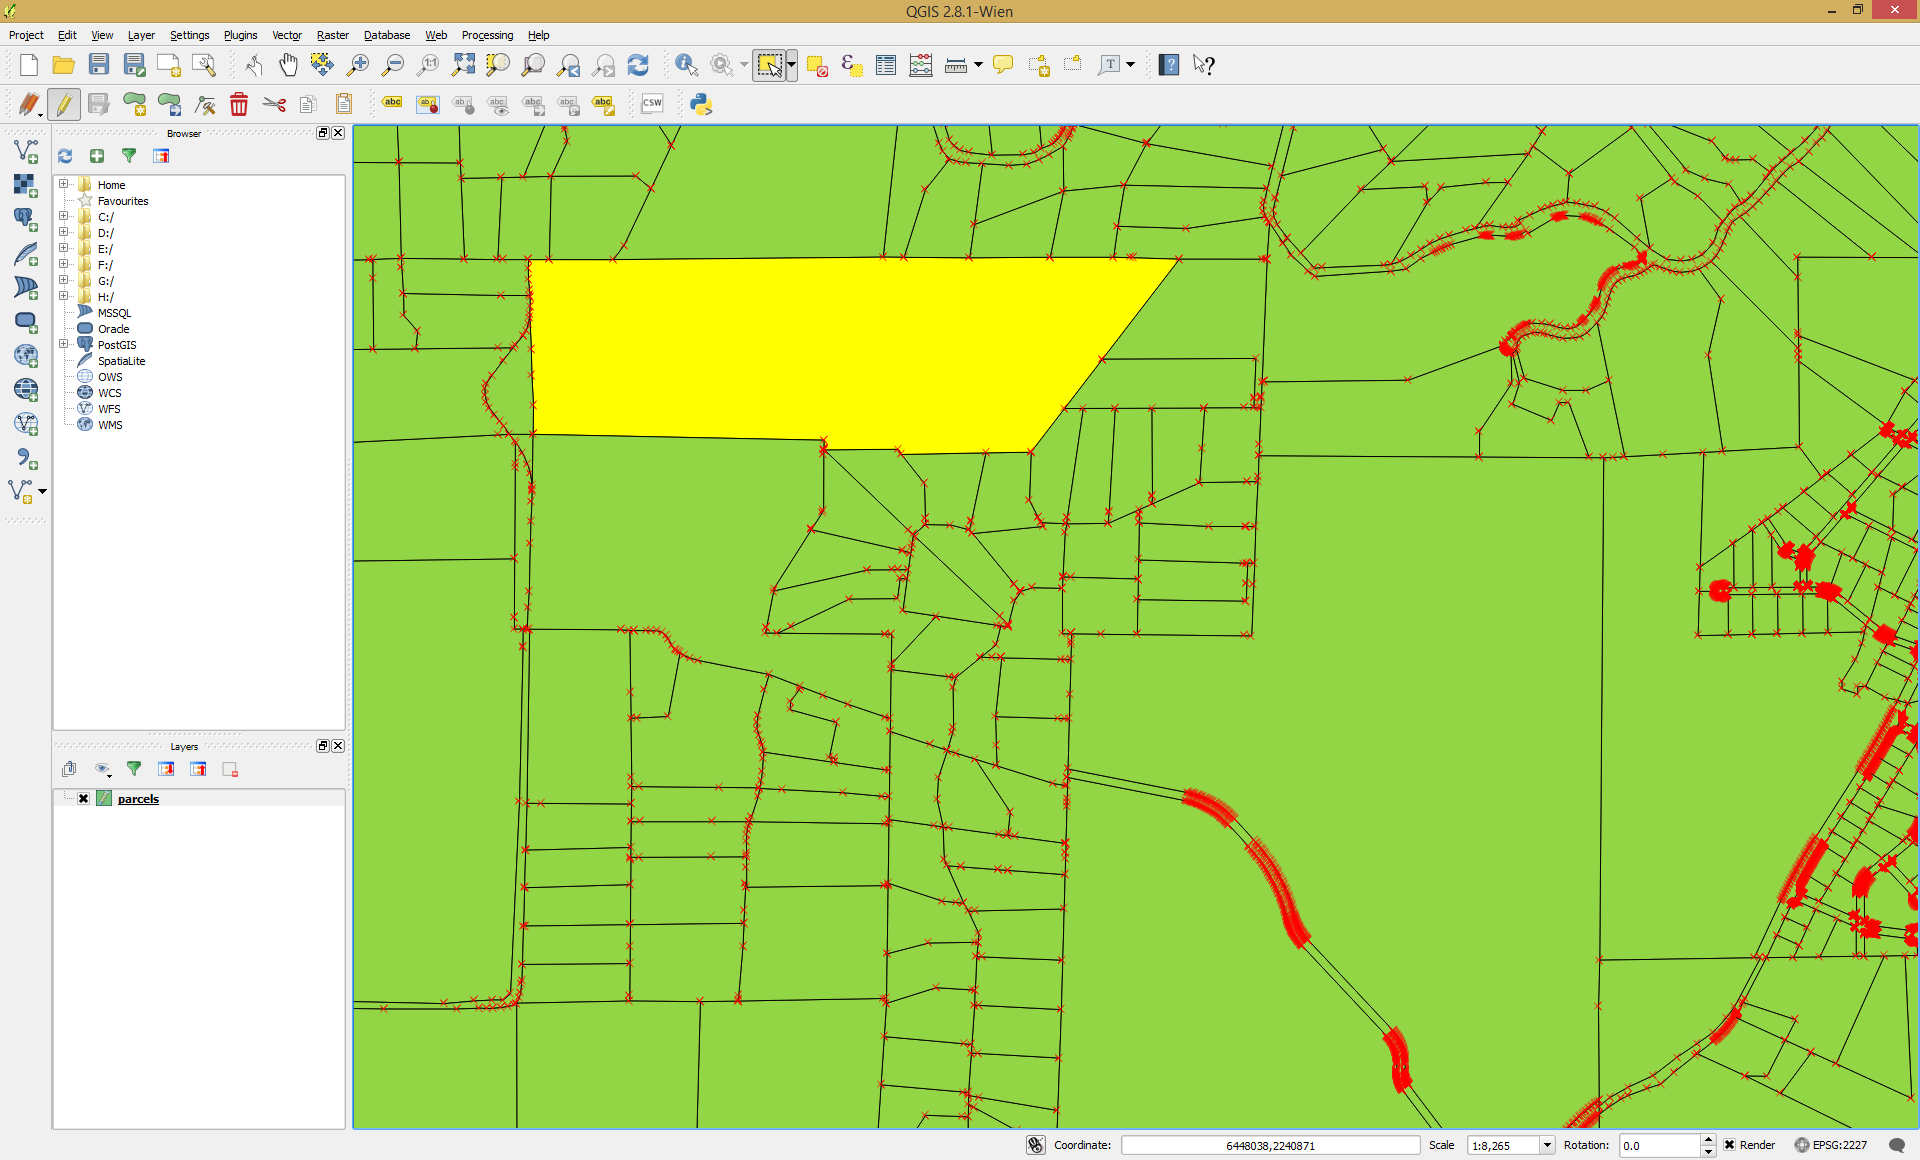
Splitting a Feature
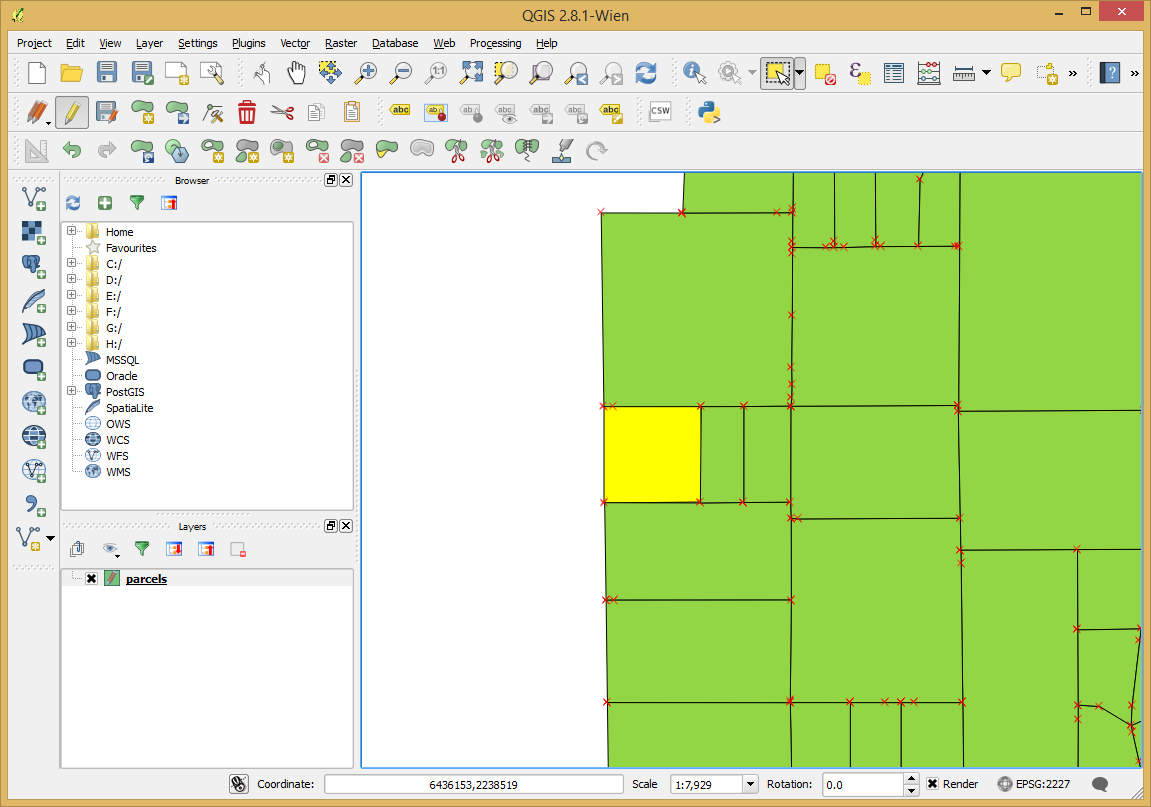
First toggle editing on using the pencil icon on the editing toolbar. You’ll see the vertexes highlighted.
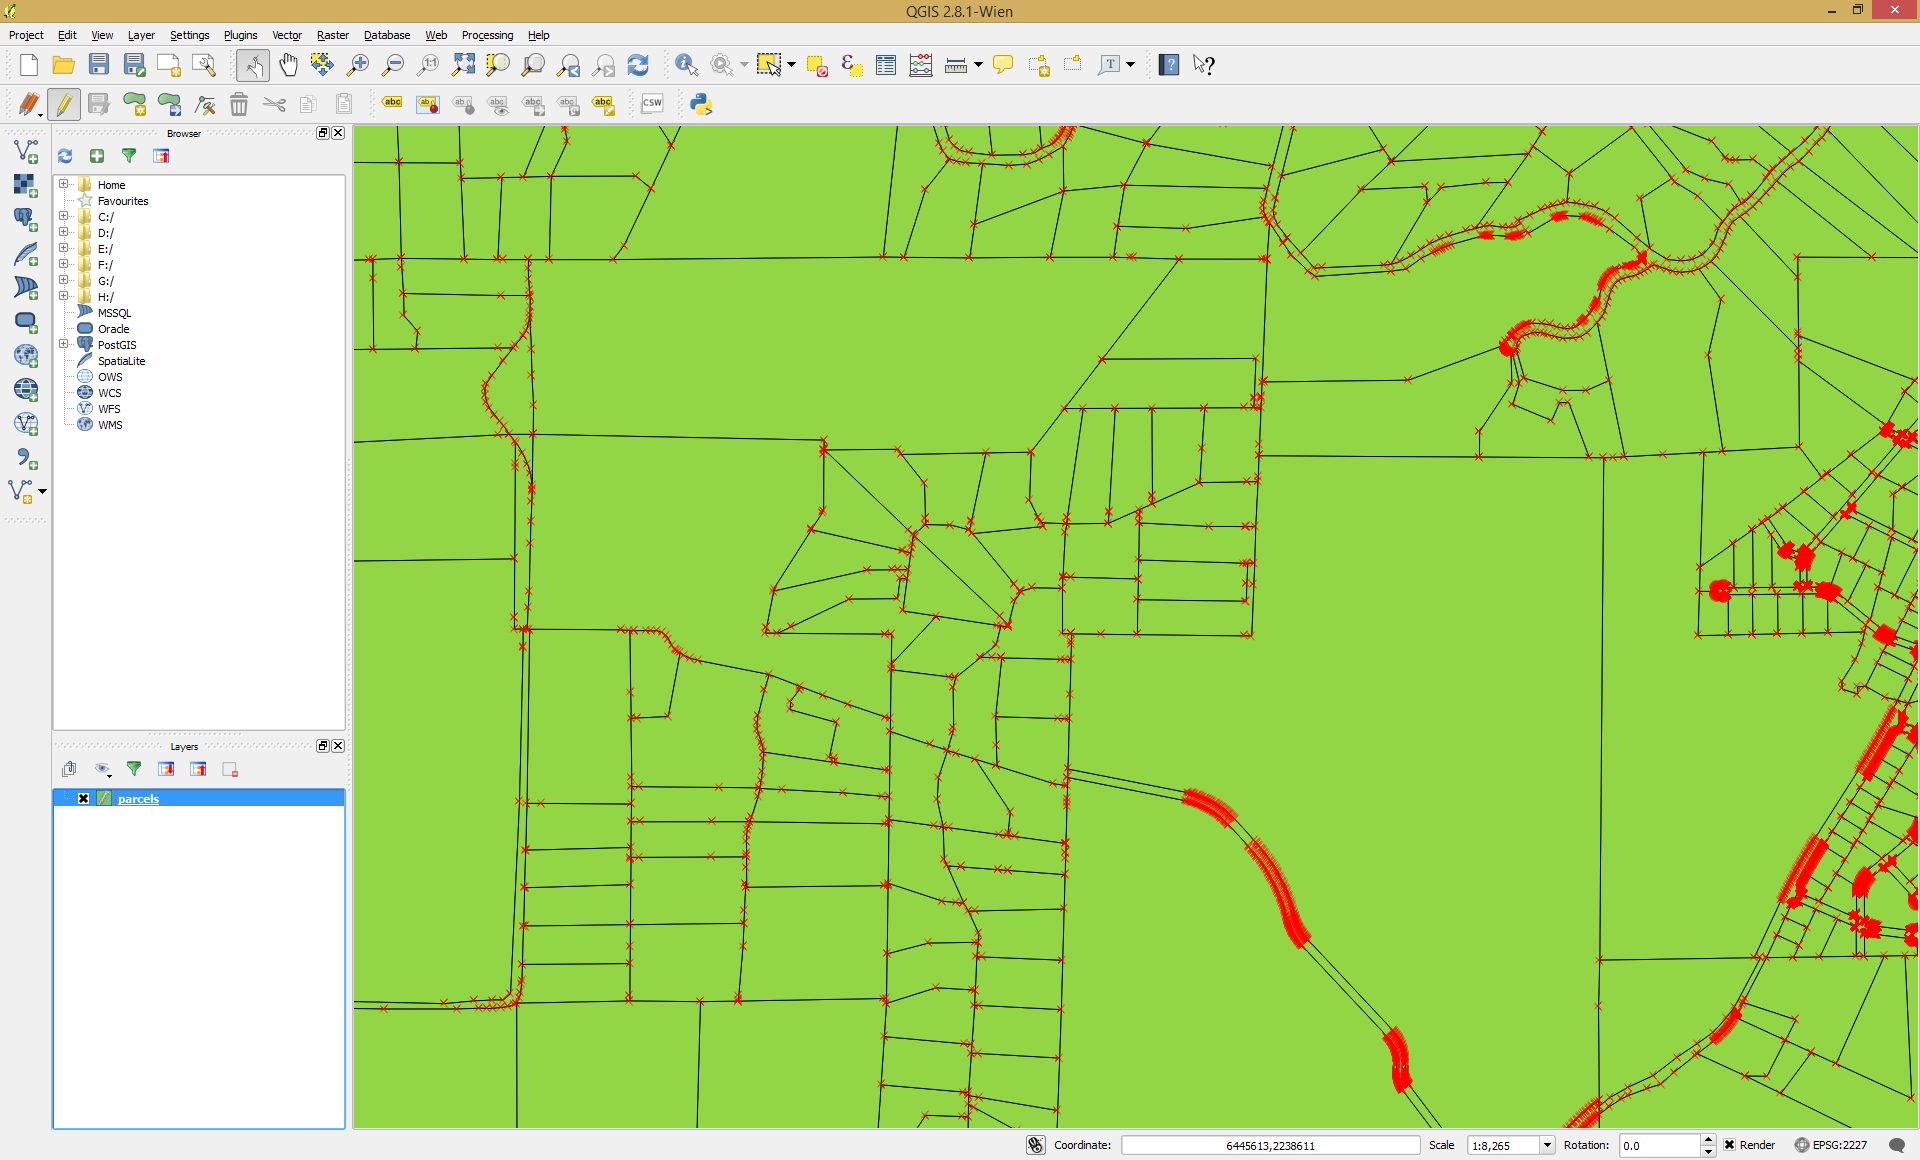
Then select the parcel that you wish to split using the standard selection tools.
Turn on the Advanced Digitizing toolbar by right clicking in an open space near the menu and turning it’s check box on.
Then select the split feature tool. And click to create the line that splits the polygon the way you want to.
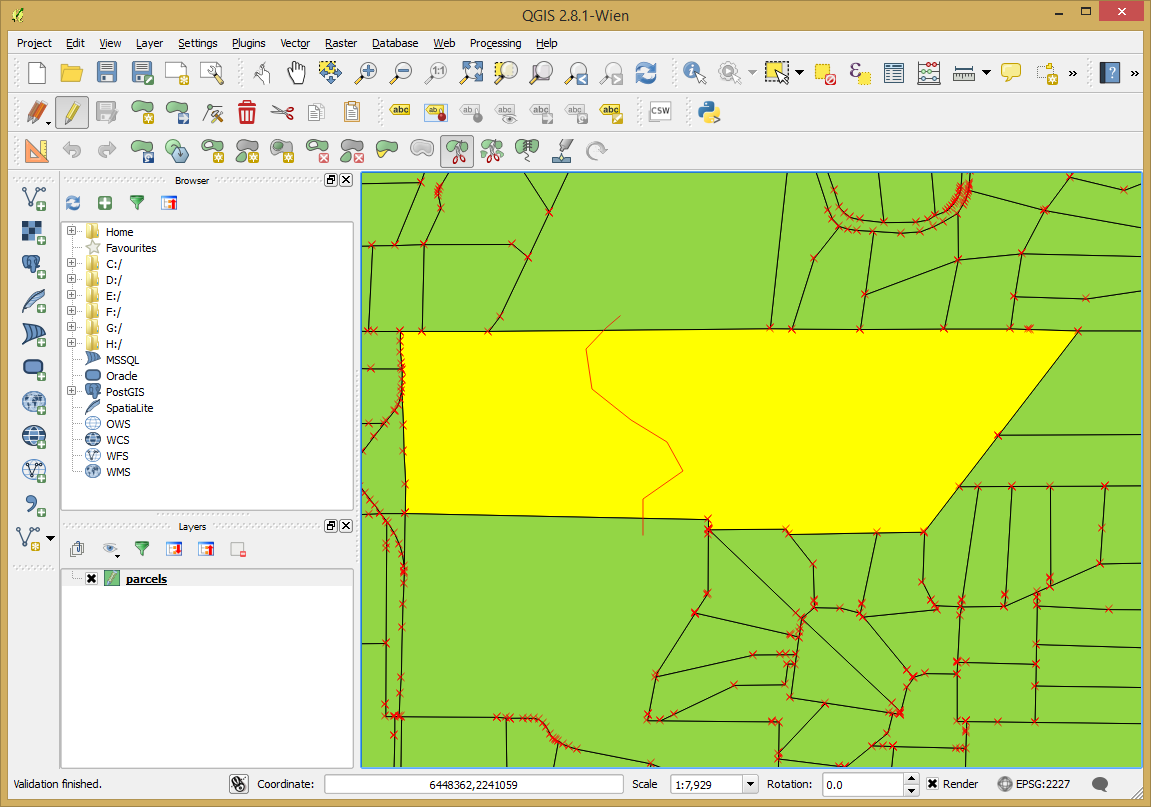
And right click to finish the split.
Adding a new feature
Navigate to a location where you can add the a new polygon.
Select the “Add Feature” tool from the “Digitizing” toolbar. Then you can draw in the polygon you want by clicking on each vertex.
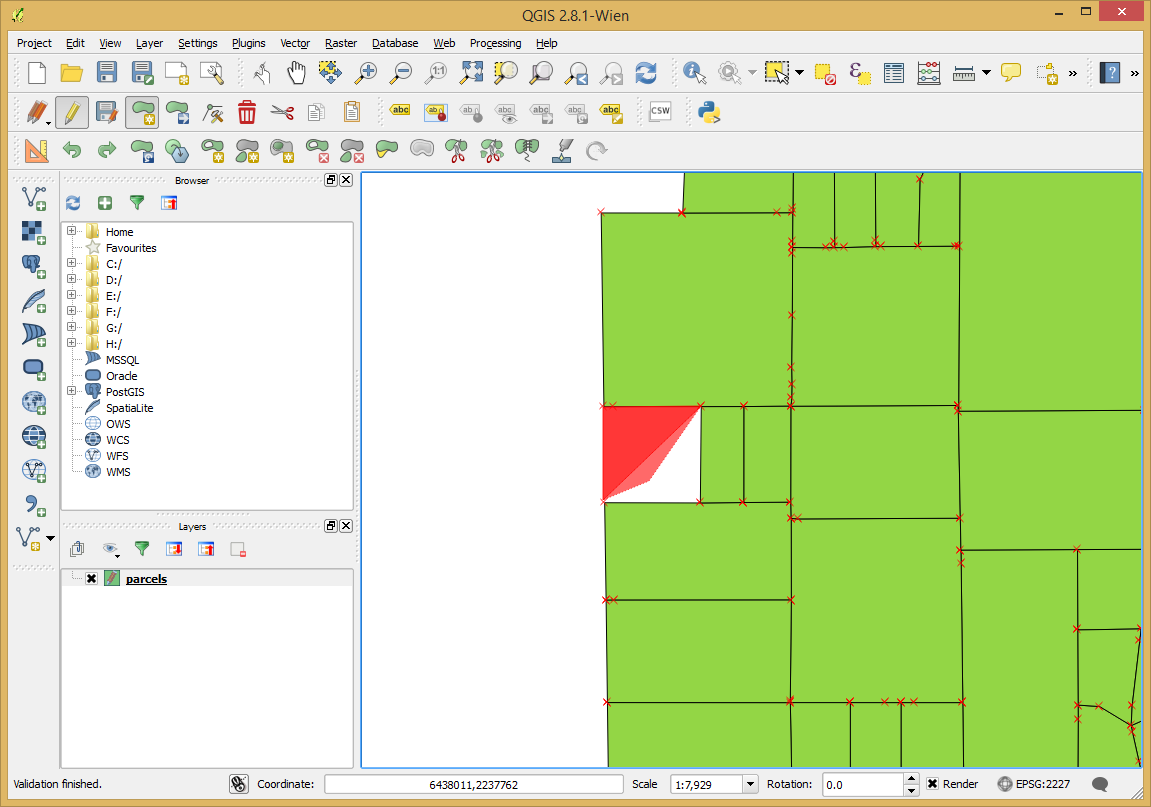
Right click to finish the feature and fill in any attributes you need to.
Finishing the Edits
Save the edits and turn off editing to save your edits fully.